Tutorial on Automation Anywhere Setup
Well, it’s all simple. All that you need to do is to follow the steps mentioned below in order to setup Automation Anywhere.
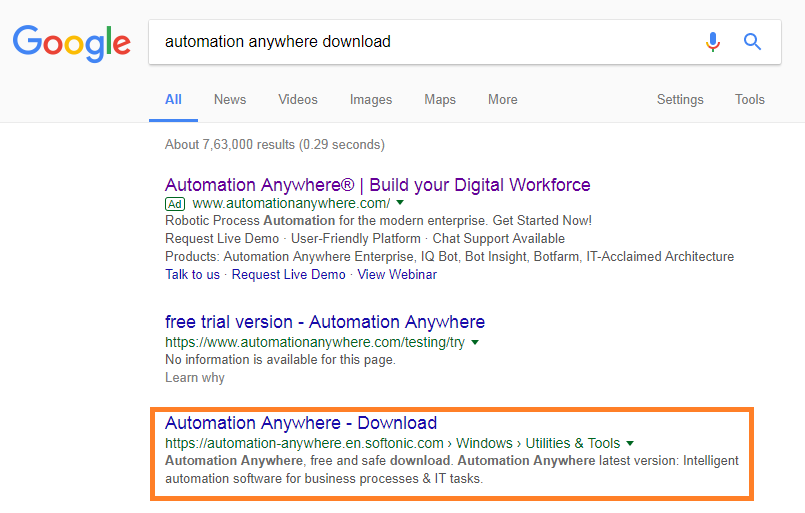
i) Just Google “Automation Anywhere “and download.
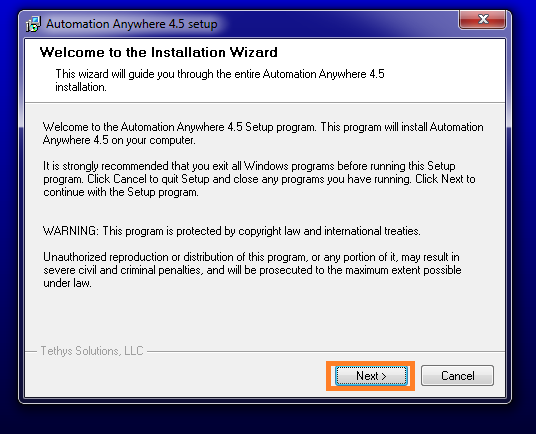
ii) Once downloading you may get the pop-up box click on “Run”.You will get the installation window in that click on “Next”.
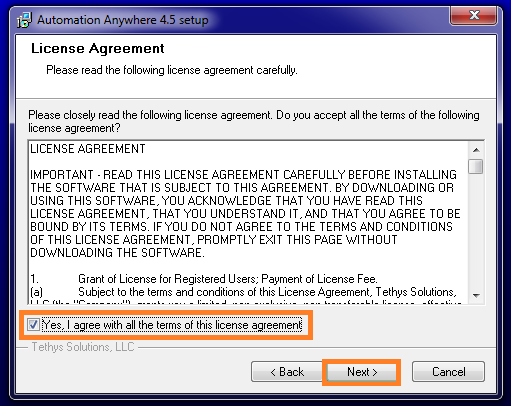
iii) You can see License agreement window box click on “yes” and after that select “Next”.
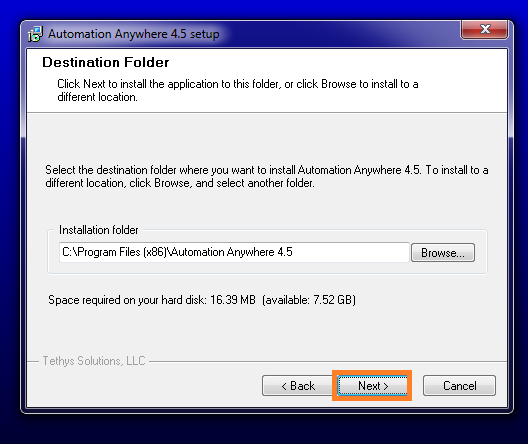
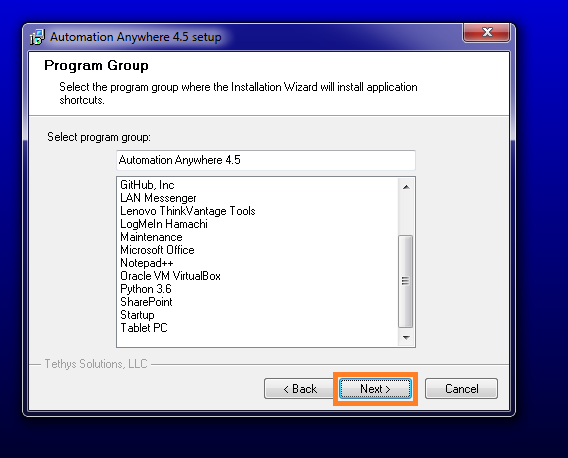
iv) Click “Next” to install the application to this folder.
v) You may get window installation application click on “Next”.
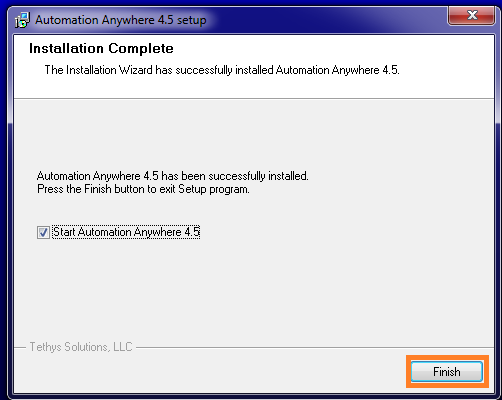
vi) Finally, you have successfully installed.
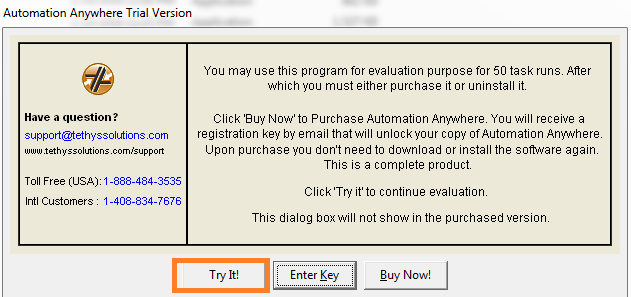
vii) At last, you will have “Automation Anywhere trial version”. Click on “try it”.
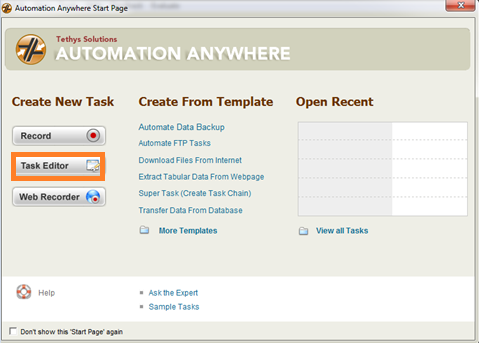
viii) As soon as you launch Automation Anywhere, it displays the Automation page
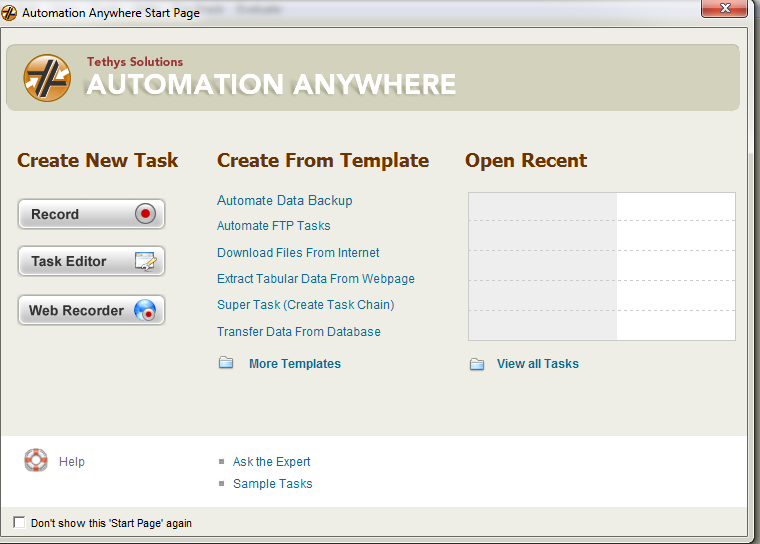
Note: You can directly start creating tasks or open recent ones if any.
ix) Click on Task Editor.
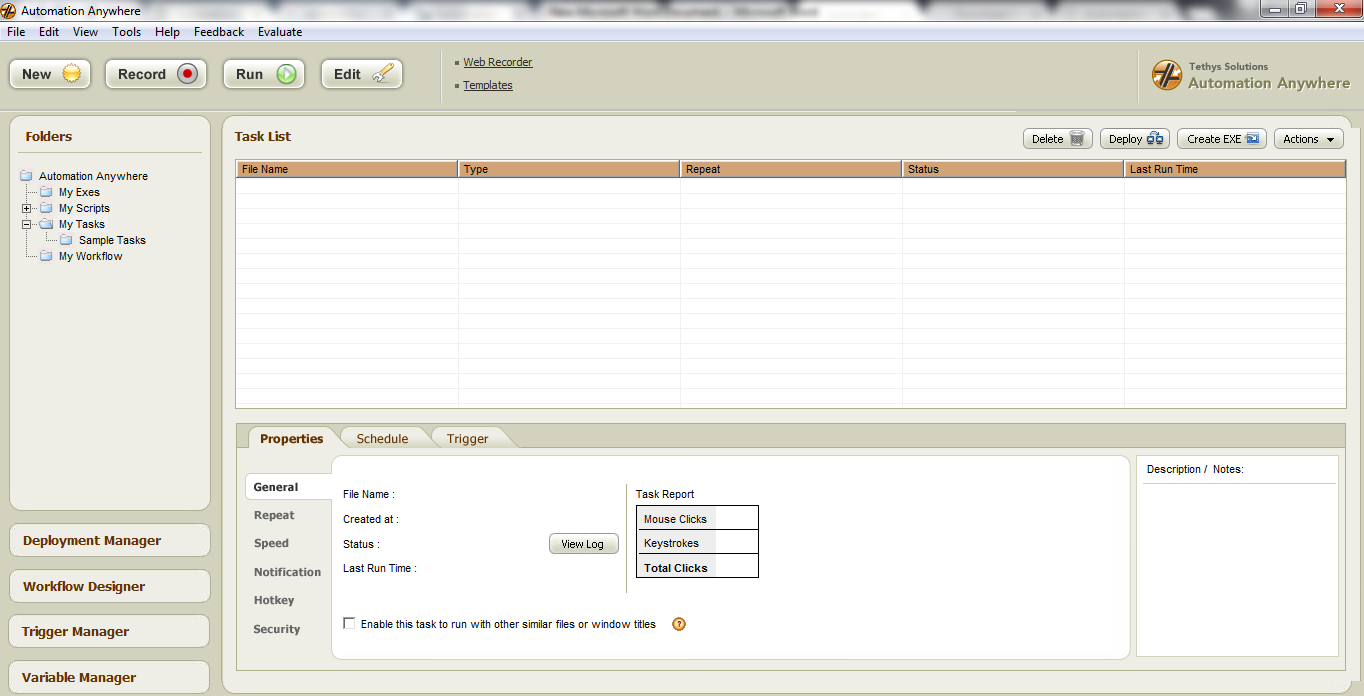
x) Here, we have a Display of Dashboard. Its show the Menu Bar, Tool Bar, Folder Panel, Task Panel and various Feature Panels. Collectively these allow you to create a record, run and modify your tasks. The Tool Bar (located below the menu bar) is a combination of tool buttons and functions for recording, running and modifying tasks:
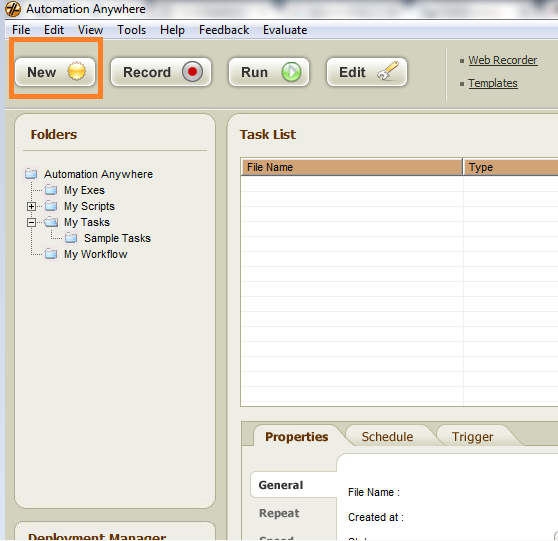
xi) Click on New.
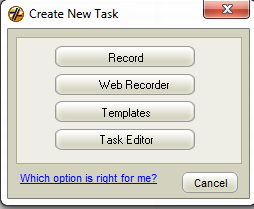
xii) You can create New Task from options like Record, Web Recorder, Templates and Task Editor.
Here, you can go through all materials regarding Automation Anywhere. Therefore, these blogs are more helpful to get more information.

Chandanakatta
Author
Hey there! I shoot some hoops when I’m not drowned in the books, sitting by the side of brooks.