Installation of Informatica PIM
Informatica PIM SDK Installation:
Looks like it’s already been established that Product Information Management is significantly purposive. It helps us use a central set of product data to feed information to media such as web sites, print catalogs, and electronic data feeds to trading partners.
Doesn’t it sound serene and convenient? Of course, it does! To me, it does. To you, it does. Therefore, I absolutely love PIM and you are here to learn from me, how to install it, so you can sail a smooth voyage, called, YOUR LIFE!
Let’s get started.
PIM SDK Environment Setup:
Prerequisites:
- Database.
- Java Development Kit.
- Eclipse.
- SQL Server.
You shall now see how to install PIM SDK and configure the environment setup.
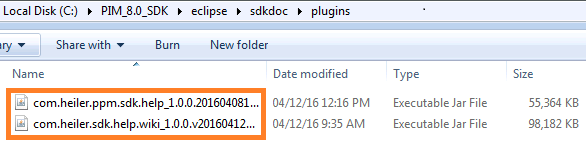
- Copy all plugins from C:\PIM-SDK\eclipse\sdkdoc\plugins folder to the drop-ins folder of your eclipse installation.
- Like fallowing Images.
- It would be perfect if you could Restart Eclipse!
- Now, I suggest you create workspace like following image:

It’s time to install target definition
- Open Window > Preferences > Plug-in Development > Target Platform.
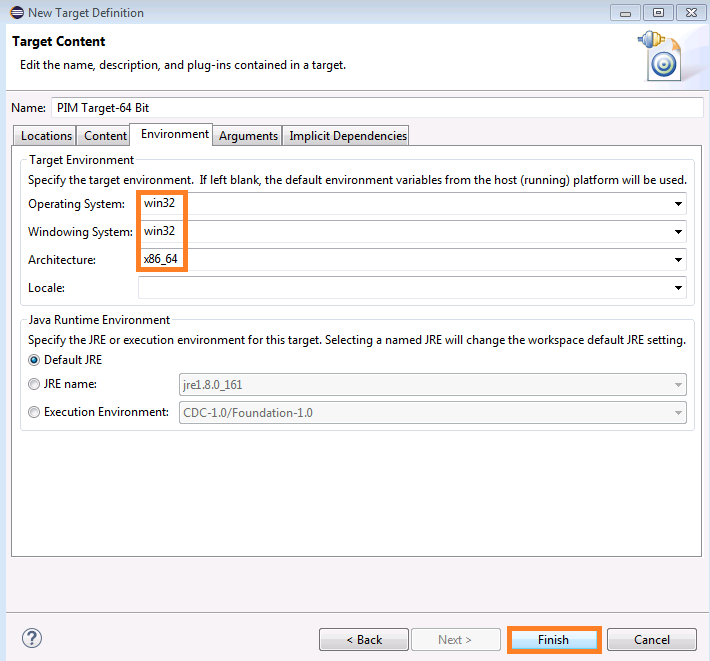
- Create new target definition: Add > Start with empty target definition. Set name to “PIM Target”
- Open environment tab and set Target Environment.
- Operating System: win32, Windowing System: win32, Architecture: x86. (Windows 32 bit platform is required for rich client!)
- Add new Software Site location: Locations a Add a Software Site.
- Now, you will see a list of available features in the SDK. You have to select based on your requirement.
- Once you select your options your Target Content look like below.
- Click Next. Eclipse will now unpack target platform bundles and features into its internal folders. Click on Finish.
- Select ‘HPM Target’ as default target platform.
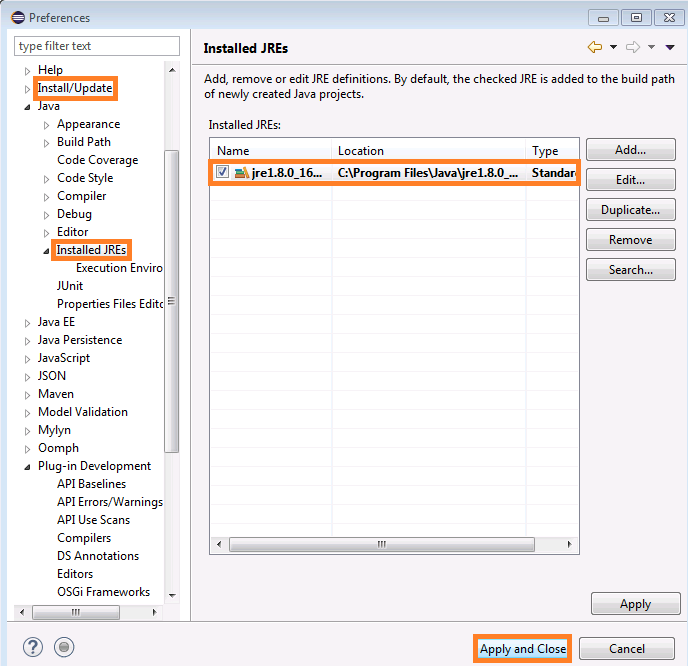
- Add target platform bundles to java search. Window > Show View > Plug-in development > Plug-ins.
1. In the Plug-ins view toolbar click on ‘Add All Plug-ins to Java Search’.
2. You can also check the preference Include all plug-ins from target in Java search.
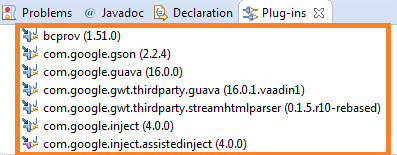
- Now, you can close this Preferences.it will show the plugins like following image:
- Apart from this, we need to import differences like following images:
- Go to File a Import Preferences.
- Click on Finish this is how the installation process of PIM SDK Environment.
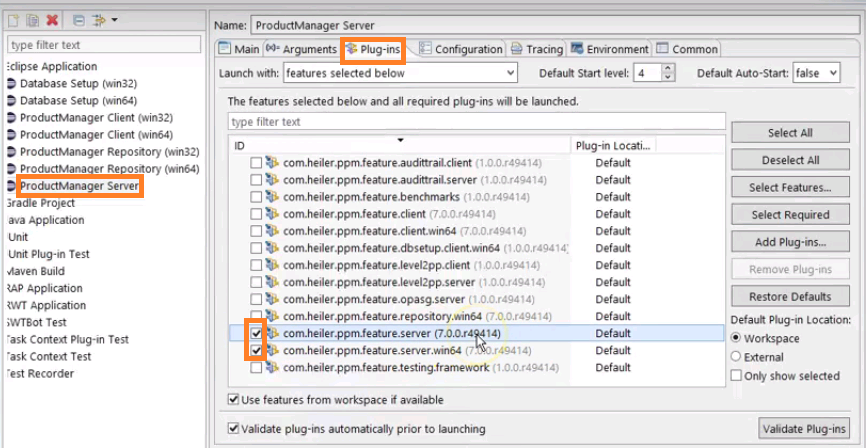
Install launches and configuration of PIM Server and Client:
- Go to a File Import a Existing Projects into Workspace.
- I suggest you to select the Directory, now.
- Go to below given path and copy the server.properties file.

- Go to configuration area and past the file as the follow image shows:
- Once you are past the file, it shows all the properties of server.properties file, and it will connect to the database directory. All the settings are completed. Now, we need to launch the PIM server client.
- Go to a Run a Run configuration.
- We need to add a Registry MultiLanguage parameter.
- Next, go to a Run a Run Configuration.

- Once the server is up, you can switch the console window hear server or client, based on your requirement.

- This is the way you can configure PIM SDK server.
I hope I was precise and informative in providing you information on the set up. Hope your installation was a smooth. As I mentioned in the beginning, the sail surely will be smooth here after. Cheers!
If you liked my article, and have time, I would recommend you to go through the articles.

Arun Gandham
Author
Hola peeps! A fitness freak, a lover of games, I catch a flick on the weekends and write for you about current trends.