Work Fusion Setup
System Requirements The Work fusion Express runs on the following platforms: Microsoft Windows x64 versions


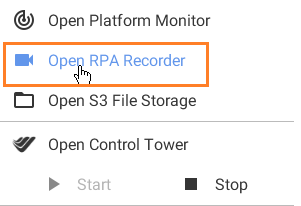
 Start RPA Recorder To Start RPA Recorder Go to WorkFusion tray menu and select the Open RPA Recorder
 Step 1: Recording Process
 Enter a file name for the recording
 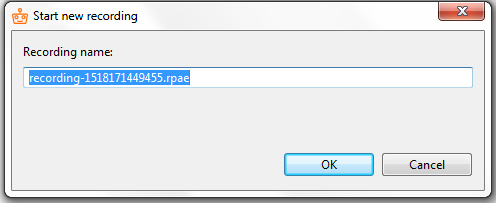 On the right side corner, you will see the recorder panel with a running timer:
 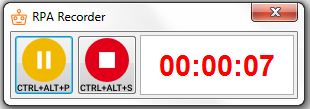 You can pause and resume the recording if needed by clicking the appropriate buttons:
 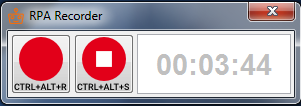 When you have finished the recording process, click the Stop button and then close
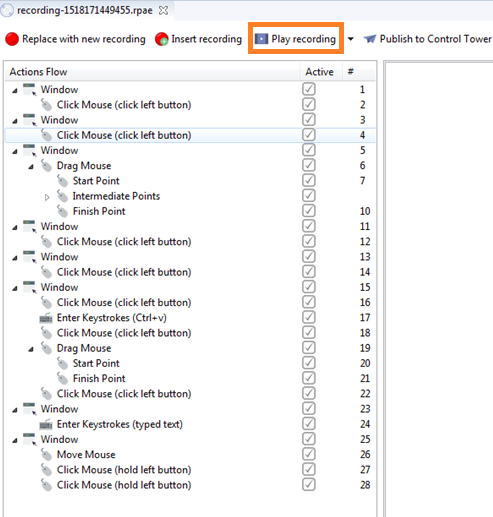
 Step 2: Playing a Recording After finishing the recording, you can test it and play the recorded flow:
 Afterwards, you will see the progress indication with a number executed steps and overall status, and the bot performing the recorded actions:
 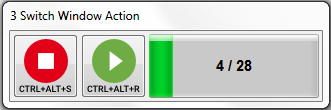 You can optionally pause, resume, or stop the execution:
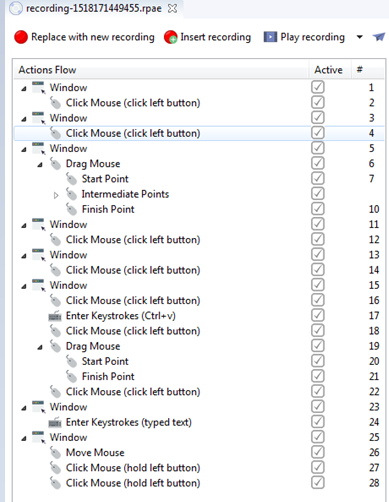
 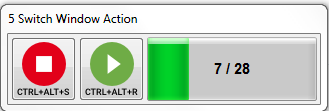 After the bot execution is finished or stopped, each step result status is shown in the Actions Flow panel.
 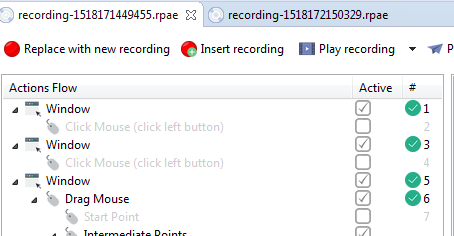 Disabling Steps When you test different actions, it might be useful to temporary disable some steps thus excluding them from the execution flow but not completely deleting them. To disable a step, uncheck the respective checkbox in the Active column – this step will be grayed out. To enable a step, check the respective checkbox again.
 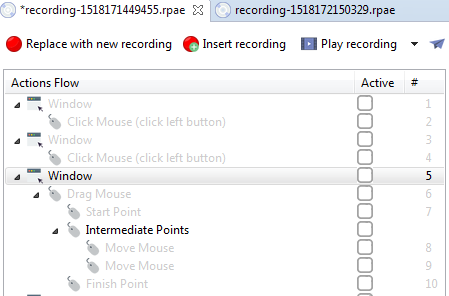 Step 3: Editing a Recording Working with Images Currently, the Recorder uses surface-based (image-based) automation approach where the bot captures images of active elements while recording and tries to find the same images and click (hover, drag, scroll) on them while script execution.
 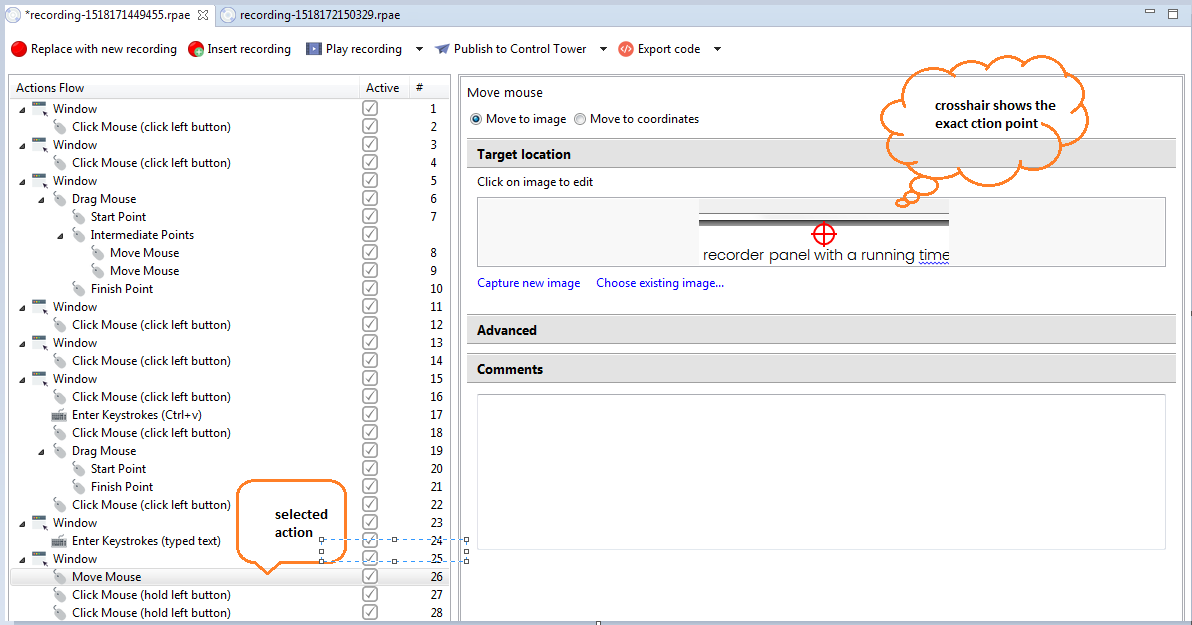 In some cases, the screenshots taken by a bot can be too large or small, not unique, or can have some unnecessary elements: tooltips, pop-up windows from other applications, etc.
This situation can be easily solved by capturing a new image manually, or by editing image offsets.
In some cases, the screenshots taken by a bot can be too large or small, not unique, or can have some unnecessary elements: tooltips, pop-up windows from other applications, etc.
This situation can be easily solved by capturing a new image manually, or by editing image offsets.
 Select the required region by dragging:
Editing Image Offsets
By default, robot clicks (hovers, scrolls, drags) directly into the center of the captured image. You can set the crosshair to a custom place by clicking the image: A pop-up dialog with 100% zoom on image is shown where you have an option to set the offsets:
 The exported recording is automatically packed into a Bot step of a Business Process and can be accessed by the following URL:
 You can run this process and watch its execution on your local computer.

 Recorder will automatically show the import dialog where you can select a project folder name:
 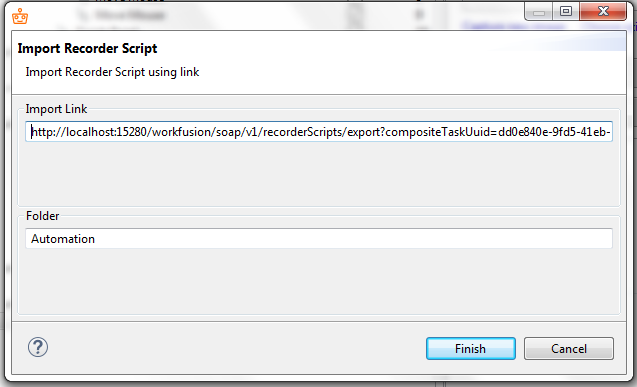 Finally, the recording will be shown with the Actions Flow opened.
- Windows 7
- Windows 8 or 8.1
- Windows 10
- Windows Server 2008
- Windows Server 2008 R2
- Windows Server 2012
- Windows Server 2016
- You need to register at work Fusion website.
- Then you will receive the registration email with a link to RPA Express package.
- Download the RPA Express Installer:
- Extract the contents to a directory on your computer.
- In that directory, double-click the RpaExpressInstaller
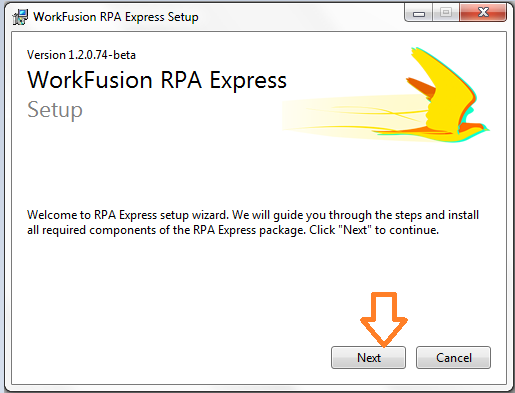
- Here you can install all the required components of the RPA Express Package.
- Click on NEXT to continue
- On the License Agreement page, Read and accept before the software to be installed.
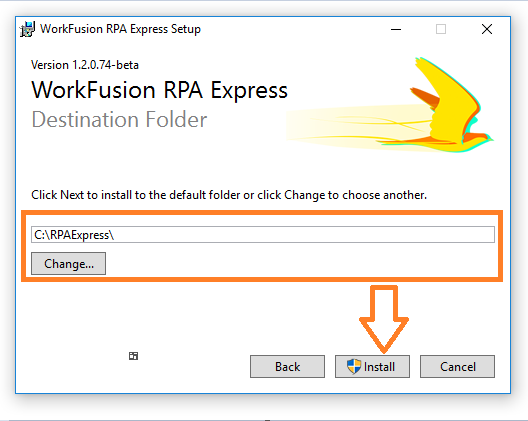
- Click on Install
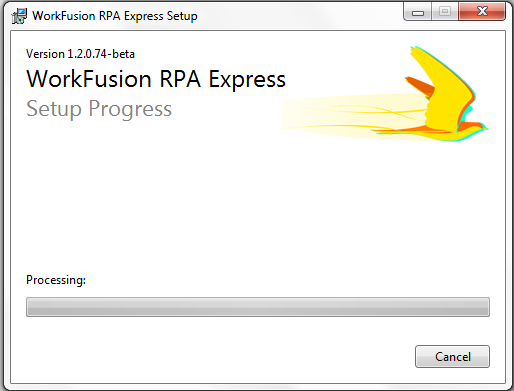
- Work Fusion RPA Setup in Progress.
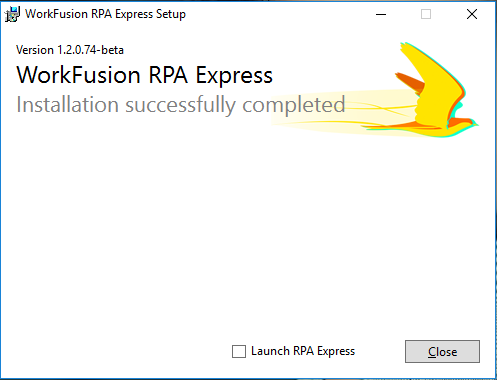
- You have successfully installed WORKFUSION RPA EXPRESS
- Select Launch RPA Express & Close
- Here you will see a welcome message
- Click on START TOUR
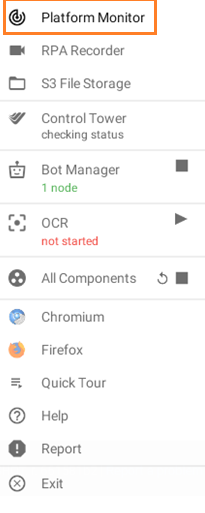
- Click this tray icon to open the Platform Monitor panel.
- Here you can see the status of all RPA Express components and manage them.
Start RPA Recorder To Start RPA Recorder Go to WorkFusion tray menu and select the Open RPA Recorder
- RPA Express Recorder main window opens.
Step 1: Recording Process
- To Start Recording click on Red color Radio Button
Enter a file name for the recording On the right side corner, you will see the recorder panel with a running timer: You can pause and resume the recording if needed by clicking the appropriate buttons: When you have finished the recording process, click the Stop button and then close
Step 2: Playing a Recording After finishing the recording, you can test it and play the recorded flow:
- Clicking on Play recording button:
Afterwards, you will see the progress indication with a number executed steps and overall status, and the bot performing the recorded actions:
You can optionally pause, resume, or stop the execution:
After the bot execution is finished or stopped, each step result status is shown in the Actions Flow panel.
Disabling Steps When you test different actions, it might be useful to temporary disable some steps thus excluding them from the execution flow but not completely deleting them. To disable a step, uncheck the respective checkbox in the Active column – this step will be grayed out. To enable a step, check the respective checkbox again.
Step 3: Editing a Recording Working with Images Currently, the Recorder uses surface-based (image-based) automation approach where the bot captures images of active elements while recording and tries to find the same images and click (hover, drag, scroll) on them while script execution.
In some cases, the screenshots taken by a bot can be too large or small, not unique, or can have some unnecessary elements: tooltips, pop-up windows from other applications, etc.
This situation can be easily solved by capturing a new image manually, or by editing image offsets.
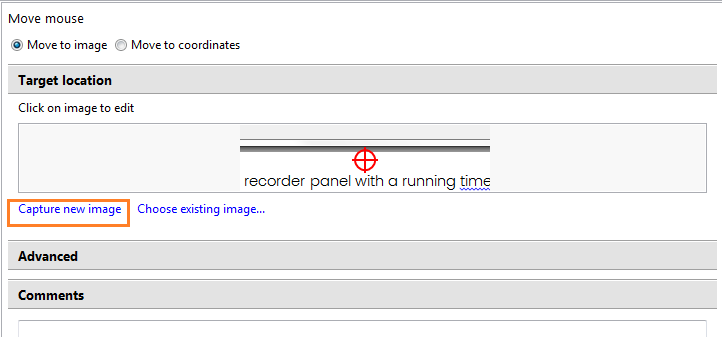
Capturing New Images
- Click the Capture new image button under the action screenshot.
 2. Afterwards, you will see a countdown in the bottom-right corner allowing you to get prepared for the screen capturing: switch to another app, open menu items, etc.
Select the required region by dragging:
- Finally, the captured screenshot is applied to the active action.
Editing Image Offsets 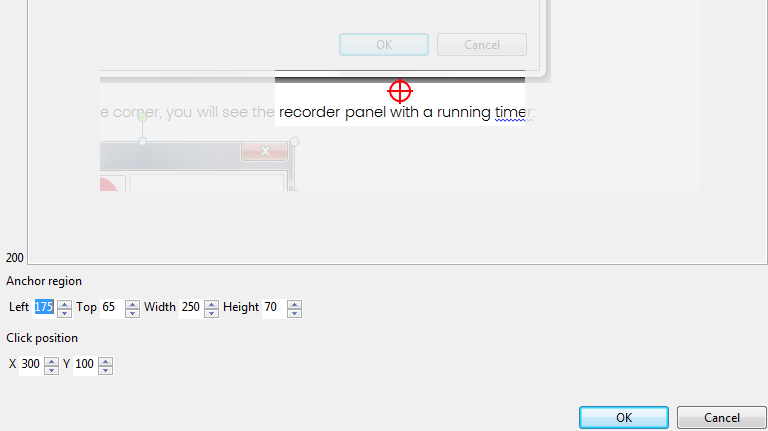
By default, robot clicks (hovers, scrolls, drags) directly into the center of the captured image. You can set the crosshair to a custom place by clicking the image: A pop-up dialog with 100% zoom on image is shown where you have an option to set the offsets:
- by clicking on the image – crosshair will be moved to this position
- Or by editing the Offset X and Offset Y fields
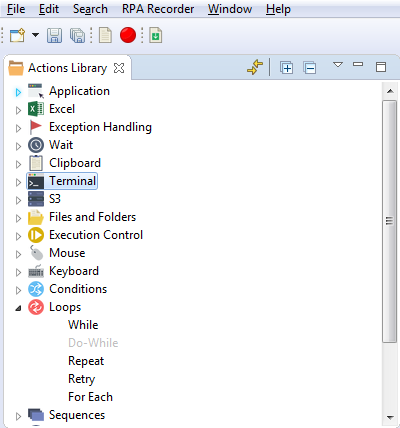
- to repeat a sequence of actions until some condition is met (While, Retry) or a defined number of times (Repeat)
- to iterate through lists and tables (For Each)
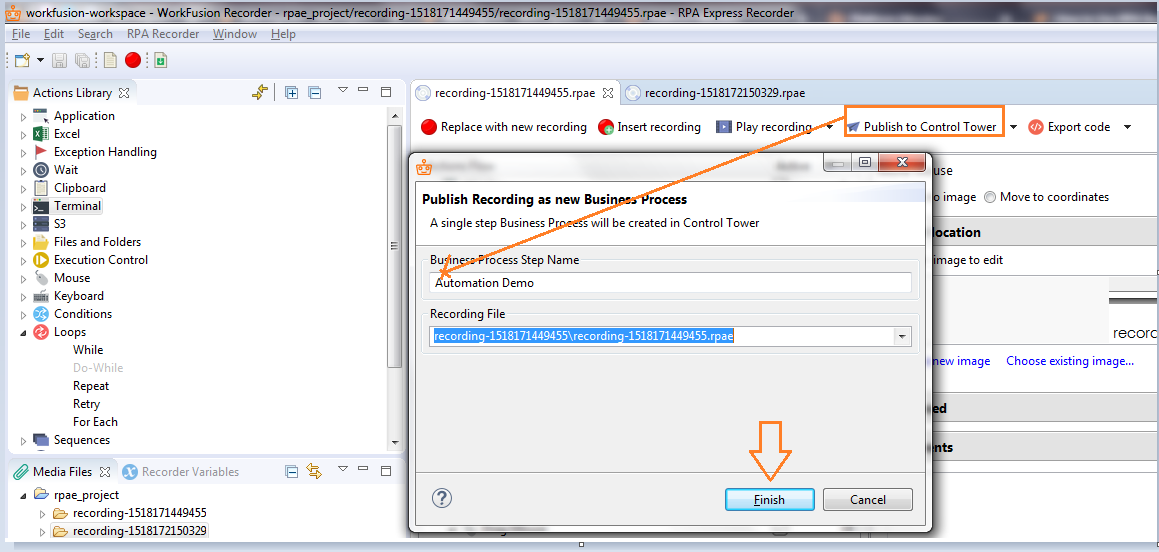
Step 4: Publishing a Recording to Control Tower
When the robotics automation is tested and runs smoothly, you can publish it to Control Tower:- Click the Publish to Control Tower
- Enter the Business Process Step Name.
- Click the Finish
- Afterwards, you can run this process and watch its execution on your local computer.
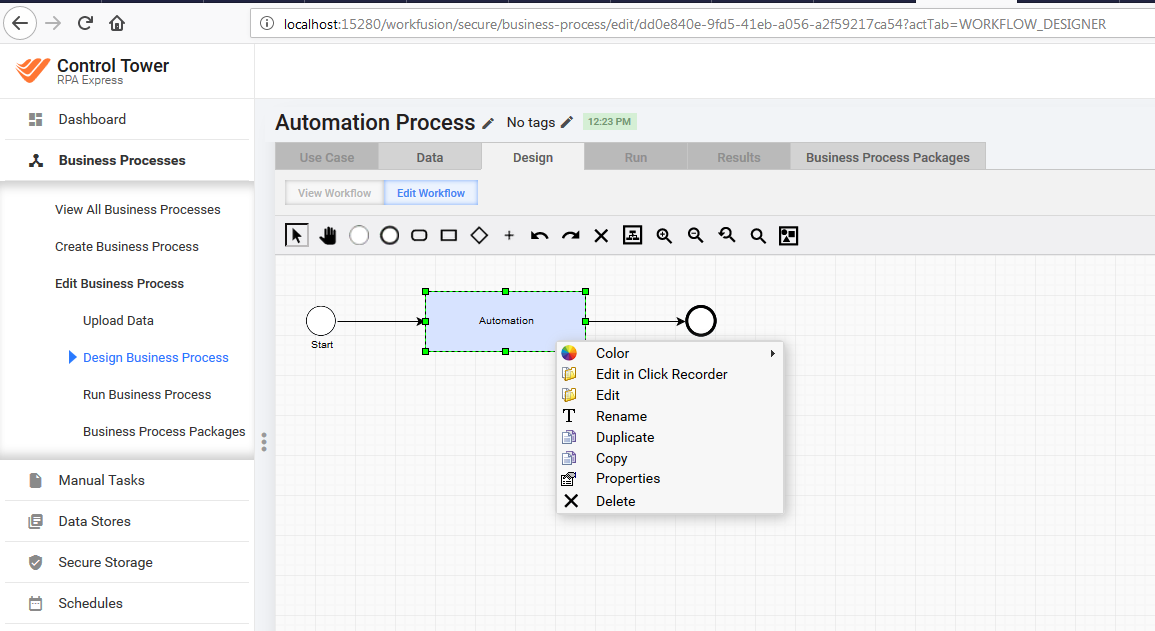
The exported recording is automatically packed into a Bot step of a Business Process and can be accessed by the following URL:
| localhost:15280/workfusion/secure/business-process/edit/dd0e840e-9fd5-41eb-a056-a2f59217ca54?actTab=WORKFLOW_DESIGNER |
You can run this process and watch its execution on your local computer.
Step 5: Importing a Recording from Control Tower
RPA Express also allows you to import recordings from Control Tower by right-clicking an appropriate bot step:
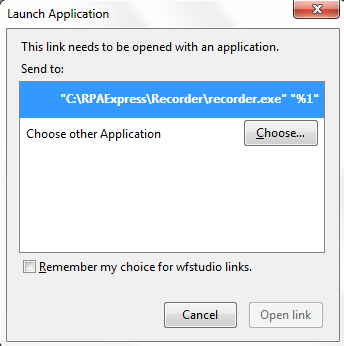
- To Launch Application click on Open Link.
Recorder will automatically show the import dialog where you can select a project folder name: Finally, the recording will be shown with the Actions Flow opened.

Mahesh J
Author
Hello all! I’m a nature’s child, who loves the wild, bringing technical knowledge to you restyled.