Sailpoint Setup
Installation Process:
Here, I am installing Sailpoint IdentityIQ 7.2 let see..how to install
Requirements:
RedHat Linux (my version: 7)
Oracle Java JDK (my version: 1.6.0_45)
Oracle MySQL (my version: 5.5.46)
Apache Tomcat (my version: 6.0.45)
Sailpoint IdentityIQ (my version: 7.2)
Installation Steps:
Step 1: Download Sailpoint IdentityIQ 7.2
Step 2: Copy the zip file identityiq-7.2.zip to the VM & unzip it
$ pwd
/var/tmp
$ ls
identityiq-7.2.zip
$ unzip identityiq-7.2.zip
$ ls
ConnectorGateway-6.4.zip database doc identityiq-7.2.zip identityiq.war integration
Step 3: Create the root context for IIQ72 and extract the war file
$ mkdir /opt/sailpoint/tomcat/webapps/iiq72
$ cp /var/tmp/identityiq.war /opt/sailpoint/tomcat/webapps/iiq72/
$ cd /opt/sailpoint/tomcat/webapps/iiq64/
$ jar xvf identityiq.war
Step 4: Configure the repository for IdentityIQ 7.2(MySQL)
$ cd /opt/sailpoint/tomcat/webapps/iiq72/WEB-INF/database
$ mysql -uroot -ppassword
mysql> source /opt/sailpoint/tomcat/webapps/iiq72/WEB-INF/database/create_identityiq_tables-7.2.mysql
mysql> show databases;
+————————–+
| Database |
+————————–+
| information_schema |
| identityiq |
| mysql |
| performance_schema |
+————————–+
Step 5: Configure Database Settings that IdentityIQ will use to connect to its repository
$ vi /opt/sailpoint/tomcat/webapps/iiq64/WEB-INF/classes/iiq.properties
##### Data Source Properties #####
dataSource.maxWait=10000
dataSource.maxActive=50
dataSource.minIdle=5
#dataSource.minEvictableIdleTimeMillis=300000
#dataSource.maxOpenPreparedStatements=-1
dataSource.username=identityiq
dataSource.password=1:iCAlakm5CVUe7+Q6hVJIBA==
##### MySQL 5 #####
## URL Format: dataSource.url=jdbc:mysql://:/?useServerPrepStmts=true&tinyInt1isBit=true&useUnicode=true&characterEncoding=utf8
dataSource.url=jdbc:mysql://localhost/identityiq?useServerPrepStmts=true&tinyInt1isBit=true&useUnicode=true&characterEncoding=utf8
dataSource.driverClassName=com.mysql.jdbc.Driver
sessionFactory.hibernateProperties.hibernate.dialect=sailpoint.persistence.MySQL5InnoDBDialect
Step 6: Import the default IdentityIQ objects to init the system
$ chmod +x /opt/sailpoint/tomcat/webapps/iiq64/WEB-INF/bin/iiq
$ /opt/sailpoint/tomcat/webapps/iiq64/WEB-INF/bin/iiq console -j
Using JLine
> import init.xml
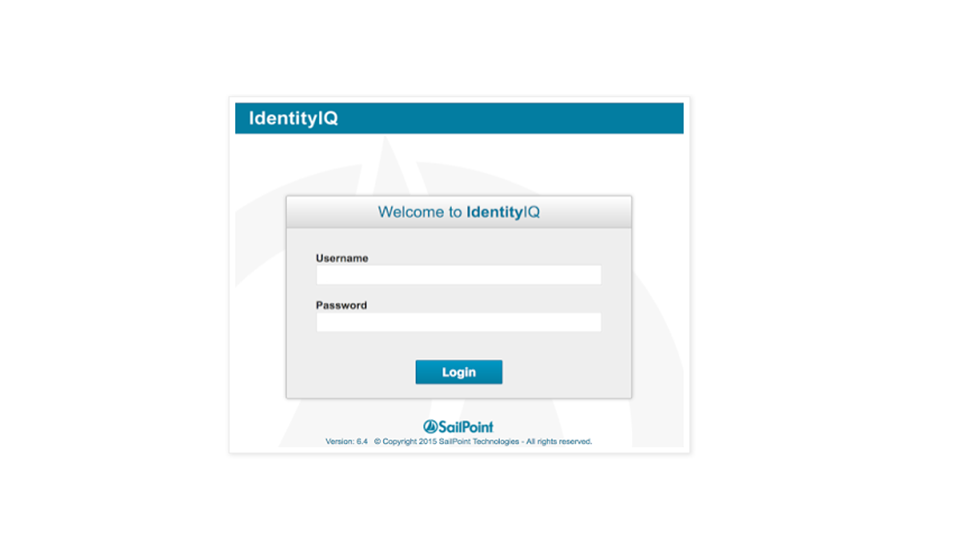
Step 7: Start Apache Tomcat and test login page via a browser.
http://iiq.example.com:8080/iiq64/login.jsf

Installation Process of RedHat:
This lab will show how to install GIT on RedHat 7.2. RedHat repository contains an older version of GIT (currently version 1.8.3.1) and
there is a need to install it manually to get the latest version (currently 2.11.0). Here are the steps to do it:
Step 1: download and unzip/untar GIT as bellow:
$ sudo cd /home/gekologic/software
$ sudo wget https://www.kernel.org/pub/software/scm/git/git-2.11.0.tar.gz
$ sudo tar xzf git-2.11.0.tar.gz
Step 2: Install some required packages
$ sudo yum install gcc openssl-devel expat-devel curl-devel perl-ExtUtils-MakeMaker
Step 3: Install GIT as bellow
$ cd /home/gekologic/software/git-2.11.0
$ make prefix=/usr/local/git all
$ make prefix=/usr/local/git install
Step 4: Check version and put git in the path
$ /usr/local/git/bin/git –version
git version 2.11.0
$ echo “export PATH=/usr/local/git/bin:$PATH” >> /etc/bashrc
$ source /etc/bashrc
$ git –version
git version 2.11.0
Installation process of Docker on RedHat:
Since I need Docker for other my labs, I thought to set up a lab that will show how to install Docker on a Redhat OS.
Docker needs a 64-bit OS and a Linux kernel version 3.10 or higher. I am currently using RedHat 7.2 and kernel 3.10.0. You can check these info with the following commands on RedHat:
$ uname -r
3.10.0-327.13.1.el7.x86_64
$ cat /etc/redhat-release
Red Hat Enterprise Linux Server release 7.3 (Maipo)
I will use yum to install Docker so make sure your existing packages are up-to-date:
$ sudo yum update
I will add the yum repo for Docker as follow:
$ sudo vi /etc/yum.repos.d/docker.repo
And paste the following text:
[dockerrepo]
name=Docker Repository
baseurl= https://yum.dockerproject.org/repo/main/centos/7/
enabled=1
gpgcheck=1
gpgkey=https://yum.dockerproject.org/gpg
After saving the file, I will install Docker as bellow:
$ sudo yum install docker-engine
I will see something like the following at the end of the installation:
docker-engine.x86_64 0:1.12.5-1.el7.centos
Dependency Installed:
docker-engine-selinux.noarch 0:1.12.5-1.el7.centos
libseccomp.x86_64 0:2.3.1-2.el7
libtool-ltdl.x86_64 0:2.4.2-21.el7_2
These are the steps you have to fallow to install Sail Point IdentityIQ and RedHat and Docker.
In this section we have mentioned about the setup and how to install it. For, more information you can have a look about other blog.

Naveen E
Author
Hola peeps! Meet an adventure maniac, seeking life in every moment, interacting and writing at Asha24.